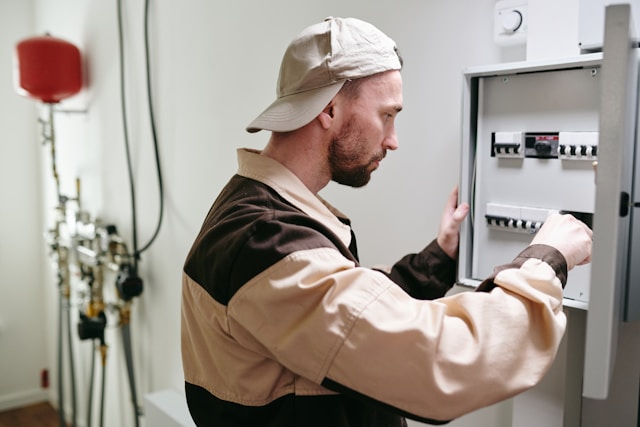
Heating installation is a significant upgrade for any home, providing warmth, comfort, and energy efficiency during the colder months. Whether you’re installing a new heating system or replacing an outdated one, preparation is key to ensuring a smooth and hassle-free process. In this guide, we’ll cover everything you need to know to prepare your home for heating installation, from choosing the right system to clearing the workspace for technicians.
1. Assess Your Heating Needs
Before installation day, evaluate your home’s heating requirements. The type of heating system you choose—whether it’s a furnace, heat pump, or boiler—will depend on factors such as the size of your home, your climate, and your energy preferences.
Key Considerations:
- Home Size: Larger homes may require central heating systems, while smaller spaces might benefit from ductless mini-split systems.
- Energy Efficiency: Look for systems with high SEER or AFUE ratings for better efficiency.
- Budget: Balance upfront costs with long-term energy savings.
Consult a professional to perform a heat load calculation, ensuring the chosen system is appropriately sized for your home. An oversized or undersized unit can lead to inefficiency and higher energy bills.
2. Select the Right Heating System
With your needs assessed, it’s time to choose the best heating system for your home. Popular options include:
- Furnaces: Ideal for homes with ductwork, furnaces use natural gas, propane, or electricity to heat air, which is distributed through ducts.
- Heat Pumps: These energy-efficient systems can heat and cool your home, making them a versatile choice.
- Boilers: Boilers heat water and distribute it through radiators or underfloor systems, providing consistent and even heating.
- Ductless Mini-Splits: Perfect for homes without ductwork, these systems are easy to install and highly efficient.
3. Schedule a Professional Inspection
Before installation, schedule a home inspection with your heating contractor. This visit ensures your home is ready for the new system and helps identify any potential challenges, such as outdated ductwork or inadequate insulation.
Inspection Checklist:
- Ductwork Condition: Ducts should be clean, sealed, and free from damage to ensure efficient airflow.
- Electrical Systems: Verify that your electrical panel can handle the new system if it’s electrically powered.
- Vents and Registers: Ensure all vents are unobstructed and in good condition.
- Insulation Levels: Adequate insulation reduces the strain on your heating system.
4. Clear the Installation Area
On installation day, technicians need unobstructed access to the work area. Prepare your home by clearing out any items around your existing heating system or the space where the new one will be installed.
Steps to Take:
- Remove furniture, rugs, or clutter near the installation area.
- Create a clear path from the entrance to the worksite.
- Secure pets and children to avoid disruptions or safety hazards.
5. Plan for Downtime
Heating installation typically takes a day or two, depending on the complexity of the job. During this time, your home may be without heat, so plan accordingly:
- Use portable heaters in occupied rooms.
- Dress warmly and keep extra blankets on hand.
- Schedule the installation during milder weather, if possible, to minimize discomfort.
6. Understand the Installation Process
Knowing what to expect during the installation can help alleviate stress and ensure you’re prepared for any temporary inconveniences. Here’s a general overview of the process:
- Old System Removal: If you’re replacing an existing system, technicians will safely disconnect and remove it.
- New System Placement: The new heating unit is positioned and connected to your home’s power supply, ducts, or pipes.
- System Testing: Technicians will test the system to ensure it’s operating efficiently and safely.
- Cleanup: Any debris or packaging will be cleared away, leaving your space clean and ready for use.
7. Test Your New Heating System
Once installation is complete, take time to familiarize yourself with your new system. Your contractor will guide you through its operation, including thermostat settings, maintenance requirements, and troubleshooting tips.
Questions to Ask Your Contractor:
- How do I program the thermostat for optimal efficiency?
- What regular maintenance is required?
- What should I do if I experience issues with the system?
8. Schedule Regular Maintenance
To keep your heating system running smoothly, regular maintenance is essential. Most manufacturers recommend annual inspections and servicing to prevent breakdowns and ensure peak performance.
Maintenance Tips:
- Replace air filters every 1–3 months, depending on usage.
- Clean vents and registers to maintain proper airflow.
- Watch for unusual noises or performance issues and address them promptly.
9. Consider Energy Efficiency Upgrades
Heating installation is the perfect time to make additional energy-efficient upgrades to your home. Small changes can significantly reduce energy consumption and enhance the performance of your new system.
Suggestions:
- Install a programmable or smart thermostat to optimize temperature control.
- Seal windows and doors to prevent drafts.
- Add insulation to attics and walls for better heat retention.
10. Enjoy the Benefits of a New Heating System
With your new heating system in place, you’ll enjoy improved comfort, lower energy bills, and a more reliable source of warmth during the winter months. Proper preparation not only ensures a smooth installation process but also sets the stage for years of efficient and trouble-free operation.
By taking the time to plan, choose the right system, and maintain it properly, you can maximize the benefits of your investment and create a cozy, energy-efficient home for your family.
