Are you ready to tackle a fun and rewarding DIY project? If your vehicle is leaking oil or shows signs of wear around the engine, it might be time for a rocker cover replacement. This essential component plays a crucial role in keeping your engine running smoothly. While it may seem daunting, replacing the Rocker Cover Replacement can be easy with the right tools and knowledge.
Whether you’re a beginner or just looking to enhance your car maintenance skills, this guide will walk you through everything you need to know about replacing your rocker cover. Get ready to roll up those sleeves because we’re diving into step-by-step instructions that will put you on the path to becoming a confident DIY mechanic!
Understanding The Rocker Cover’s Function
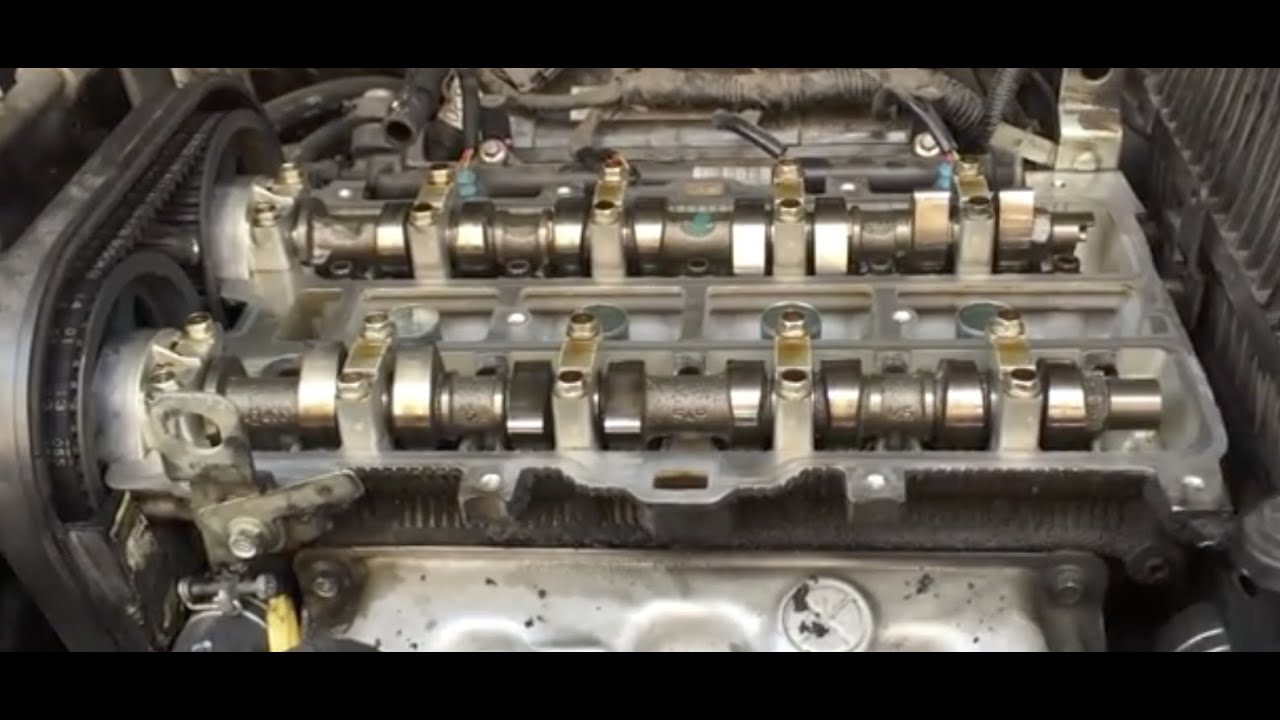
The rocker cover, also known as the valve cover, is vital to your engine’s performance. It sits atop the cylinder head and covers the valvetrain components, including rockers, valves, and lifters that manage air intake and exhaust.
One of its primary functions is to keep oil contained within the engine. The rocker cover prevents contaminants from entering while ensuring lubrication reaches essential moving parts. Proper lubrication reduces friction and wear, which can extend engine life.
It also acts as a barrier to keeping debris out of critical areas. A clean environment inside the engine helps maintain optimal performance levels. If dirt or grime enters through leaks or cracks in the rocker cover, it can cause significant damage over time.
Rocker covers often have built-in ventilation systems to regulate crankcase pressure. This feature helps prevent oil leaks and maintain efficiency by allowing gases that accumulate during combustion to escape safely.
Understanding how this component works is crucial for any DIY maintenance task on your vehicle. Recognizing its importance will guide you throughout your rocker cover replacement project.
Tools You’ll Need for The Job
Before diving into rocker cover replacement, gathering the right tools is crucial. This ensures a smooth process and minimizes frustration along the way. A few essential items will make your task much easier.
Start with basic hand tools like a socket set. Different sizes will help you tackle various bolts on the rocker cover. A ratchet wrench can significantly speed up this part of the job, allowing quick adjustments without too much effort.
Next, grab a torque wrench to ensure you’re tightening bolts to manufacturer specifications. Over-tightening or under-tightening can lead to leaks or damage down the line, so this tool is indispensable in achieving proper installation.
Remember gaskets and sealants! You’ll want high-quality materials for automotive applications to prevent oil leaks later. Having these before starting saves time and ensures you have everything needed for a successful replacement.
Consider safety gear like gloves and goggles. Working with engine components often involves sharp edges and hot surfaces, making it smart to protect yourself while elbow-deep in your car’s machinery.
Preparing Your Vehicle for The Replacement
Before diving into the rocker cover replacement, take some time to prepare your vehicle. A clean workspace makes a world of difference. Finding a flat, well-lit area will help you see what you’re doing and keep tools organized.
Next, let’s examine the engine temperature. It’s crucial to ensure your engine is completely cool before starting any work. When removed, hot components can lead to burns or damage.
Disconnecting the battery is another essential step. This prevents accidental electrical shorts while working on sensitive parts of the engine. Always remove the negative terminal first for safety reasons.
Once ready, clear away any debris or obstructions around the rocker cover. This includes hoses and wires that might get in your way during removal and installation. Careful handling here will save you trouble later.
Gather all necessary tools nearby, making them easily accessible throughout the process. Having everything within reach means less frustration as you work through each step smoothly without unnecessary interruptions.
Step-By-Step Removal of The Old Ford Focus Rocker Cover
Removing the old Ford Focus Rocker Cover can be straightforward with patience and care. Start by ensuring your engine is cool to avoid burns or injuries. Locate the rocker cover, typically on top of the cylinder head, secured with bolts.
Using a socket wrench, carefully loosen and remove each bolt. Make sure to organize them so you won’t mix them up later. It’s also wise to take a picture of their arrangement before removal.
Once all bolts are out, gently pry the rocker cover off using a flathead screwdriver. Be cautious not to damage any surrounding components during this process. If it feels stuck, check for any remaining fasteners hidden from view.
After removing the cover, inspect the area underneath for any debris or oil buildup that could interfere with the installation of the new one. Note how everything looks; this will help when you install the new rocker cover.
Set aside your old rocker cover and move on to inspecting gaskets and seals next!
Inspecting The Gasket and Seals
Once the old rocker cover is off, it’s time to inspect the gasket and seals. These components are crucial in preventing leaks and ensuring your engine operates efficiently. A worn or damaged gasket can lead to oil seepage, which could ultimately harm your engine.
Start by examining the old gasket for signs of wear. Look for cracks, tears, or any deformation that indicates it needs replacing. If you notice any irregularities, replace them with a new one during reinstallation.
Next, check the seals around ports and bolts for similar damage. Even minor issues here can lead to significant problems if addressed. Pay close attention because these are often overlooked yet essential parts.
Clean both surfaces thoroughly before installing anything new; this helps achieve a proper seal later. Use a soft cloth or scraper tool, but avoid scratching the metal surfaces.
After cleaning, consider applying some RTV silicone sealant as an extra precaution at critical junctions where leaks are more likely to occur. This will add another layer of protection against potential leakage once everything is back together.
Installing The New Rocker Cover
Once your new rocker cover is ready, it’s time to install it. Start by positioning the cover carefully over the engine head. Ensure that all holes align with the bolts and any other components. This step is crucial for a smooth installation.
Before securing everything in place, apply a bead of gasket sealant around the edge of the rocker cover if recommended by the manufacturer. This adds an extra layer of protection against leaks and ensures a tighter fit.
Next, take your torque wrench and gradually tighten each bolt in a crisscross pattern. This helps distribute pressure evenly across the surface, reducing stress on any section. Be sure not to overtighten; excessive force can crack or warp the cover and gasket.
After tightening all bolts, double-check their torque settings using your manual as a reference. Accurate specifications are vital for preventing future issues down the line.
Clean up any excess sealant or debris around your workspace before reconnecting hoses or electrical connections that may have been removed during disassembly.
Tips For Ensuring a Proper Seal
To achieve a proper seal during rocker cover replacement, thoroughly clean the surface where the new gasket will sit. Dirt or old residue can compromise the integrity of your seal. Use a degreaser and a clean cloth to ensure everything is spotless.
When applying the gasket maker, use it sparingly and evenly. Too much material can create excess pressure when you tighten the rocker cover, leading to leaks later. A thin bead around each edge works best for most applications.
It’s also essential to follow the manufacturer’s recommendations regarding torque specifications for your bolts or screws. A torque wrench ensures you’re not overtightening, which could warp components over time and lead to more problems than solutions.
Consider using new bolts if yours show signs of wear or damage. Fresh hardware provides better clamping force and can help maintain an effective seal.
After installation, let everything settle for about 30 minutes before starting your engine. This waiting period allows any adhesive used in assembly to cure properly, preventing future leaks.
Testing And Final Checks
Once you’ve installed the new rocker cover, it’s time to conduct thorough testing and final checks. Start by double-checking all bolts and nuts for proper torque specifications. Ensure everything is tightened securely, but avoid overtightening, which can damage the cover.
Next, reconnect any hoses or electrical connectors you may have detached during removal. While you’re at it, please inspect these components for wear or cracks. It’s better to replace them now than deal with issues later.
After reassembly, start your engine and allow it to idle for a few minutes. Monitor the area around the rocker cover for any signs of oil leaks. A small mirror can be helpful here; it allows you to see hard-to-reach spots without getting too close.
Listen closely as well. Unusual noises could indicate that something isn’t seated properly or that air is trapped in the system.
Check your oil levels once more after running the engine briefly. This will ensure everything operates smoothly within optimal ranges before taking your vehicle out on the road again.
Conclusion
Successfully replacing a rocker cover is an empowering experience. Taking on this project not only saves you money but also deepens your understanding of your vehicle’s engine. With the right tools and preparation, anyone can tackle this task.
Throughout the process, meticulous attention to detail plays a crucial role. These steps are vital for optimal performance, from inspecting gaskets to ensuring proper sealing. A well-installed rocker cover enhances engine efficiency and prevents potential leaks that could lead to further issues.
Remember that patience is key in any DIY endeavour. If challenges arise during removal or installation, don’t hesitate to step back and reassess your approach. Sometimes, seeking advice from online forums or instructional videos can provide valuable insights.
After completing the installation, regular maintenance checks will help sustain peak performance levels in your engine. Keeping an eye on oil levels and monitoring for leaks ensures longevity in the rocker cover and overall engine health.
FAQs
What is a rocker cover?
A rocker or valve cover protects the engine’s internal components and contains oil. It also houses important elements like the rocker arms and valves.
How often should I replace my rocker cover gasket?
It typically depends on your vehicle’s make and model. However, if you notice oil leaks or see signs of wear around the edges, it’s time to consider a replacement.
Can I use aftermarket parts for my rocker cover?
Yes! Aftermarket parts can be more affordable, but ensure they meet quality standards that match OEM specifications to avoid future issues.
Is it necessary to replace the gasket every time I change the rocker cover?
Absolutely! A new gasket ensures a proper seal and prevents leaks from occurring after installation.
|
Related Business Listings |